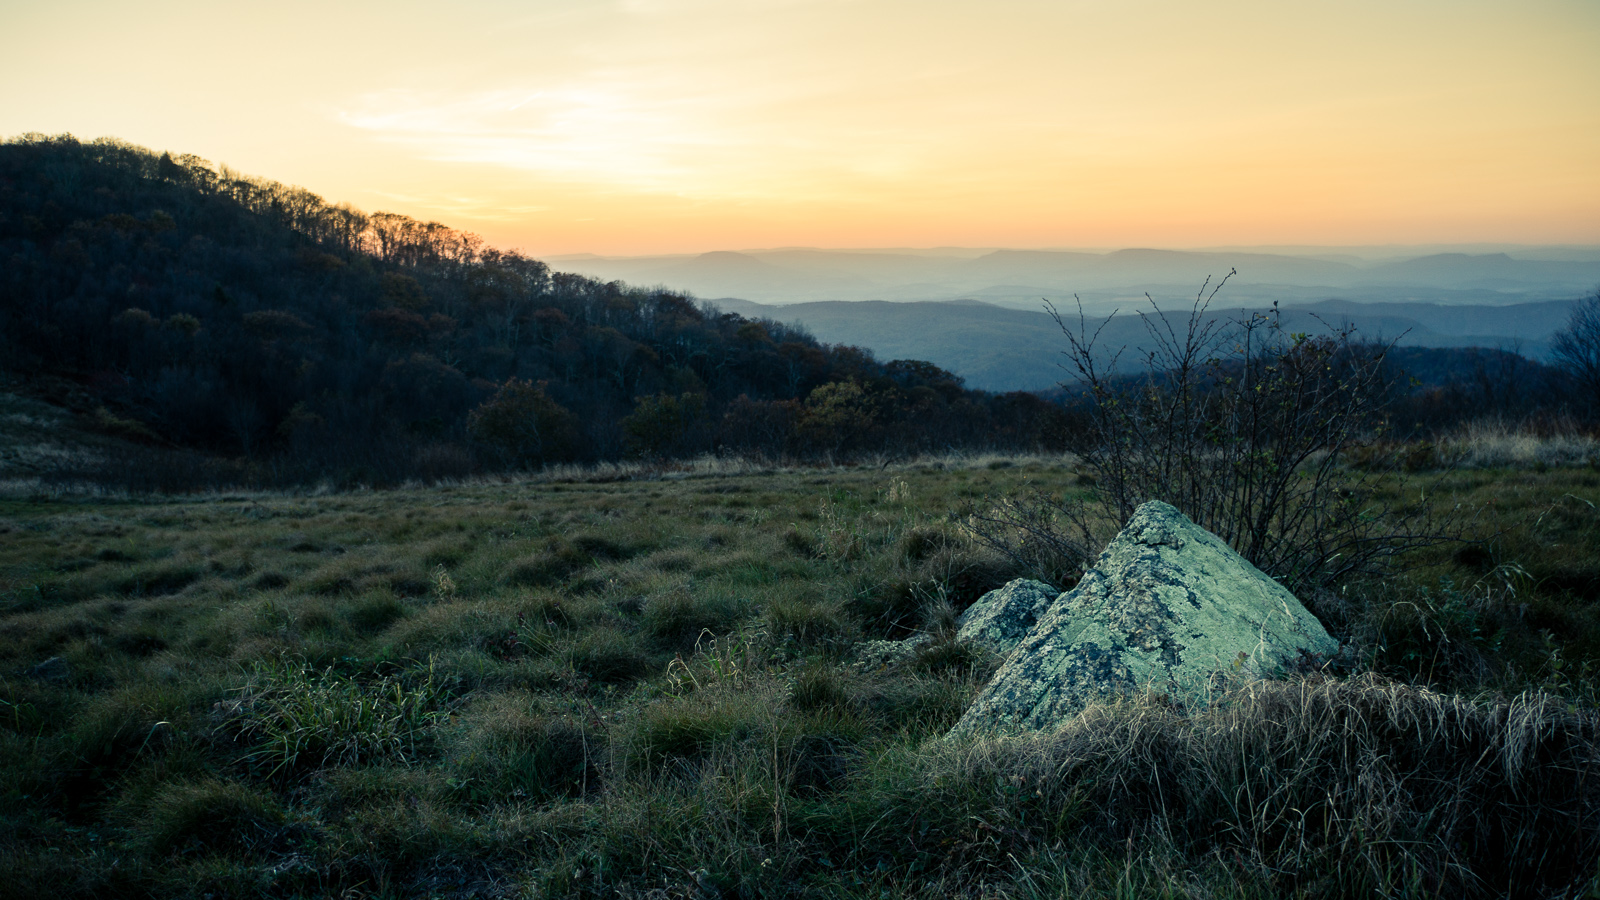
Rock Paper Sunset (click to view larger)
It’s been a little while since I talked about one specific image and how I went about capturing and editing it.
I would say it’s been long enough in fact that it is time I do it again.
The Capture of Rock Paper Sunset
A month or so ago my cousin, brother and I went to a mountain (Cole Mountain) a little over an hour from my place. We hiked a trail up to the top of that mountain and found ourselves faced with a beautiful sunset sky.
We really should have started our hike a bit earlier so that we could have been on top longer enjoying the sunset, but we didn’t. So I got to work and started running around like a mad man.
I had my NEX 6 perched on top of the tripod and I was bracketing each and every exposure I made.
The Edit of Rock Paper Sunset
Once I got back to the computer there were a few pictures that stood out to me right away. This was one of them.
So I jumped into the develop module in Lightroom, did some basic exposure adjustments to get the overall light about right. I also boosted the shadows a bit so that there would be a bit of detail in the darker areas of the image. And I lowered the highlights a bit to help bring back some of the sunset sky detail.
Then I did two things that kind of “sold” the image to my senses.
First I dodged and burned pretty carefully. I darkened some parts of the image (bit by bit) and lightened some other parts to make the eye go to where I wanted it to in the photo. In case you hadn’t figured that part out yet, I wanted the viewer’s eye to go between the color in the sky and the rock in the foreground. But not just that, I want the eye to catch some details as well. The lichens on the rock. The mountains in the background. The trees on the ridge. Etc.
Once everything was looking pretty good I decided to play around with a bit of a split tone. I ended up with a bit of an orange, warm highlight color and a cooler bluish shadow color. This matched the “feel” I was shooting for… Once again I was trying to “sell” the image to my senses.
What Did I Learn from Rock Paper Sunset?
Here is the deal though. As I processed this image I realized that I’ve started to think almost too much in HDR. Almost every image I’ve shot over the last year (with the exception of flash lit portraits) was shot using bracketed exposures. Although I don’t always use the brackets to create a tone mapped HDR I always have had that in the back of my mind.
However on this image (and a few others from that night) I was able to get the detail that I needed from the single RAW file. It is amazing how much detail you can actually get out of a single RAW file.
So I guess I don’t have to shoot as many exposures as I thought I did. But boy it is handy when I need to start with a base image that is brighter or darker than the “correct” exposure. So I might just continue to shoot bracketed exposures… 🙂