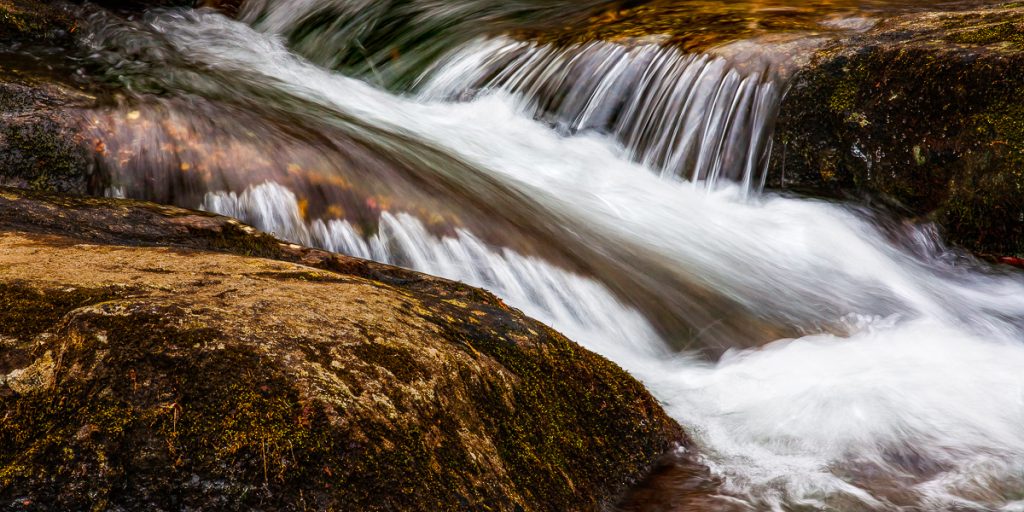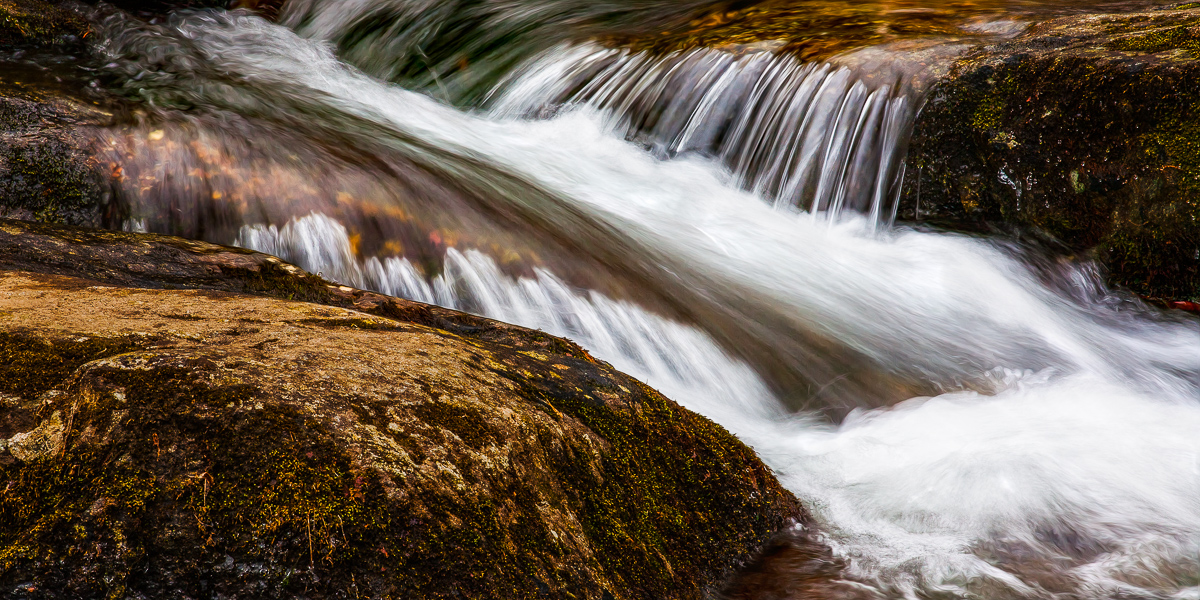
Change My Direction
Change My Direction – Water – Photo
Good evening everyone,
I apologize for not getting a post out yesterday. I was busy worrying and trying to prepare for a test that took place today.
Today I want to share another image that I made while visiting CrabTree Falls.
As I’ve been working through this set of images I’m seeing some little things that I think will help me next time I am taking pictures of moving water… I guess we will see about that.
The biggest thing I’ve found is that “stuff” in the water is definitely something to stay away from. If you can’t get the little sticks out of the water, or cruddy looking leaves, then you’re probably going to either need to crop around them or clone them out in post processing.
That is the biggest thing I’ve noticed throughout these images. Clean images with smooth water are almost always better than images with too much “little stuff” if the frame.
In Terms of Processing
Now let’s discuss just a bit about how I got the final image that you see here.
Taking the photograph was done in the “normal” way I’ve mentioned that I’ve been shooting moving water. I used a tripod and a small aperture to get a long shutter speed and allow the water to “flow.”
I also bracketed my exposures. This was done mainly because I wanted to go ahead and cover the shot with a number of exposures so that I could pick and choose between them when I got back to the computer.
Usually when it comes to water I pick one of the RAW files and go to work inside of Lightroom. This time however I decided to try combining the different exposures into a 32 bit tiff file.
The conversion went fairly well and I was able to get a good mix of the more blurred water with the less blurred water. So I decided to work with that 32 bit tiff file.
The initial part of the actual photo editing happened inside of the Develop module of Lightroom. I got the exposure where I wanted it, boosted the shadows and lowered the highlights to bring back some detail in the water.
Once things were looking fairly good I took the image into onOne Software’s perfect Effects and got the styling where I wanted it, at least pretty much. I saved the resulting Effects file, with its layers, back into Lightroom.
One I was in Lightroom I immediately opened the layered onOne Effects file into Photoshop. I then blended several different layers on top of the onOne Effects layers. One to do some dodging and burning and help focus the eye on the water. I also was able to bring a bit of detail back into the water.
The final layer I blended into the file was first ran through a plugin called PixelBender. The plugin gives a bit of a “painterly” effect and I used a layer mask to bring some of this layer into the water. I really like what PixelBender did to the water in this case.
And there you go. That’s how this image, Change My Direction, came into being.
Thanks for stopping by,
Eldon
